Best Lightroom Export Settings For Instagram, Facebook, Print, & More
Is it possible to claim to be an expert in the workflow of Lightroom without becoming competent in its export settings? It’s a very crucial step because I was receiving many questions from Lightroom users who want to know lightroom export settings of all types. That’s why I am going to write a comprehensive guide for the ease of Lightroom enthusiast that’ll help them to remove their confusion regarding all export settings of Lightroom. Moreover, if you want to access all features of the Lightroom Mobile App without spending a single penny then, you must download the Lightroom Mod APK from this website.
We need to perform Lightroom export settings to maintain the quality, size, tone, format, and dimension of the image for displaying it correctly. With export settings, we may retain the details of photos that we were expecting according to our desires. By selecting desired options, we can increase the pixels of the image, and it’ll ultimately enhance its quality but we need to understand Lightroom export settings for high resolution to get superior results. We can make adjustments to certain options by keeping in view the specifications of Instagram, Facebook, and Pinterest for photos, videos, and reels.
Suppose you’ve edited an image in Lightroom to the next level and want to get a print of it, but you don’t know the Lightroom export settings for print. Then, absolutely, your efforts will be lost. Similarly, if you’ve made a thumbnail or background image for Facebook but don’t have proper knowledge about the Lightroom export settings for Facebook, then the purpose of your editing task will not be fulfilled. Therefore, it’s compulsory to have full knowledge about the export settings of Lightroom. This article will prove as right for you as rain, and you’ll be able to export images for Instagram, Facebook, Web, Print, etc., easily without going into any complications.
The following three straightforward steps involved in the general image exporting process of Lightroom:
Follow the following steps to select images that you want to export:
On the other hand, if you want to make a random selection from different images instead of all images, then follow the following steps:
After selecting your desired images, go to the top navigation, look for the “File” option, and click on it. Then, you’ll see the Export option in the dropdown menu. Press on it, then a large pop-up will appear where you need to go to each section and make the desired settings. You need to follow the following steps for the perfect settings of each section.
At the top of the pop-up, you’ll see an option Export To, where you need to choose a hard drive.

The next segment is settings in Export Location, where you’ve selected the following options:

3. The next section is of File Naming where you need to select Custom Settings for Rename To. You can also select edit from the drop down menu and can make certain changes according to your desire.

4. The next step is the File Settings, where you’ve to select JPEG image format and sRGB color space.

5. When all is down then move down towards image resizing where you need to select image size and resolution. We’ll discuss it next because this size may vary whether you want to export it for Facebook, Instagram, or printing purposes.

6. The next one is Output Sharpening, for which I recommend selecting the screen for “Sharpen For” and the standard amount.

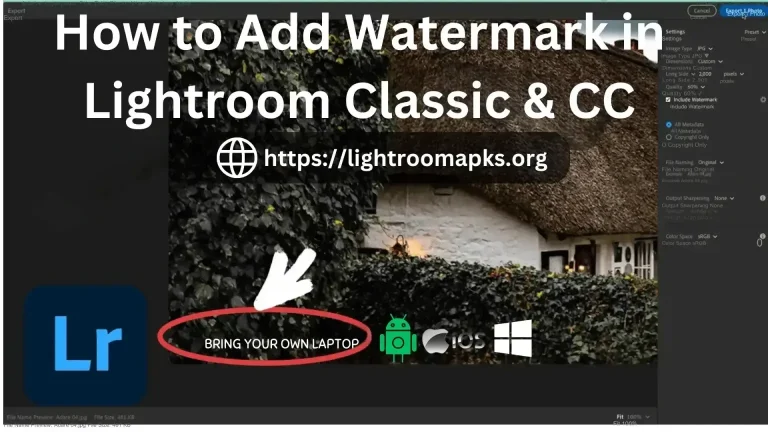
7. Select Copyright Only for metadata and don’t use any watermark, so keep this option unchecked.

8. Please don’t check the post-processing, so it’ll remain “ DO Nothing”.

9. Click on Add available at the left side > Rename preset and finally export the preset.

The above-discussed steps were simple to export edited images from Lightroom, but in this section, I’ll discuss the Lightroom export settings under certain conditions:
Instagram is a great source for getting fame, to make people aware about yourself through photos and videos and to know about other people. Lightroom offers a great chance to optimize images according to Instagram requirements before exporting if we want to use those images and videos on Instagram stories or reels. You need to maximize your image according to the following specifications that are in demand on Instagram:
| Export Settings | Specified Values |
|---|---|
| Image Format | JPEG |
| Colour Space | sRGB |
| Quality | 100 |
| Limit File Size To | Unchecked |
| Resize to Fit | Short Edge |
| Pixels | 1080 |
| Don’t Enlarge | Checked |
| Resolution | 240 |
| Sharpen For | Screen |
| Amount | High |
| Watermark | Simple copyright watermark |
As I’ve discussed earlier, Lightroom export settings can vary according to your desire for what purpose you want to edit and import images. For printing objectives, I often prefer high-resolution images and their maximum size because there is no restriction on the image size that we usually face for Instagram, Facebook, and website images. According to my experience, I’m going to share the best practices of export settings of this amazing tool for print:
| Export Settings | Specified Values |
|---|---|
| Image Format | JPEG |
| Colour Space | sRGB |
| Quality | 94 |
| Limit File Size To | Unchecked |
| Resize to Fit | Long Edge |
| Pixels | 1000 |
| Don’t Enlarge | Unchecked |
| Resolution | 300 |
| Sharpen For | Matte paper |
| Amount | Standard |
| Watermark | Unchecked |
The most crucial export settings of Lightroom images are for website and blog purposes. We know that the competition in SEO is increasing day by day because Google is launching new updates frequently. Every new update is expanding our efforts to rank websites in search engines, so it’s compulsory to know the recommendations of Google algorithms for images.
It’s compulsory to obey Google’s suggestions to get a better ranking on search engines. I’m an SEO expert and have full knowledge about how to optimize images before uploading them on a blog or website, whether it’s an ecommerce store, an affiliate blog, or any informational website. If you want to optimize your images like me fully, you need to follow the following settings:
| Export Settings | Specified Values |
|---|---|
| Export To | Same folder as original photo |
| Put in sub-folder | 1 web |
| Image Format | JPEG |
| Colour Space | sRGB |
| Quality | 94 |
| Limit File Size To | Unchecked |
| Resize to Fit | Long Edge |
| Pixels | 1600 |
| Don’t Enlarge | Unchecked |
| Resolution | 72 |
| Sharpen For | Screen |
| Amount | Standard |
| Watermark | Simple copyright watermark |
Similar to Instagram, there are certain rules for sharing images on Facebook. We’ve to make specific settings in image size, format, and resolution, especially when you want to share pictures on Facebook for the branding of your digital or non-digital products or for your personal prominence. I use the following settings to export images for Facebook that are showing the perfect results:
| Export Settings | Specified Values |
|---|---|
| Image Format | JPEG |
| Colour Space | sRGB |
| Quality | 90 |
| Limit File Size To | Unchecked |
| Resize to Fit | Long Edge |
| Pixels | 2048 |
| Don’t Enlarge | Checked |
| Resolution | Don’t matter |
| Sharpen For | Screen |
| Amount | Standard |
| Watermark | Simple copyright watermark |
Final Thoughts
Lightroom has helped me a lot, like a best friend, to generate satisfied clients in the photography field, and I’ve been in connection with it for 10 years. Now I’ve decided to guide you so that you may get the benefit from Lightroom like me. That’s why I am sharing my experience and best practices regarding Lightroom, whether it’s the process of adding a watermark in Lightroom or collage creation.
After receiving feedback on other topics that I covered in this blog and at the insistence of many users, I’ve shared my experience regarding the best Lightroom export settings. These settings will help you a lot to successfully get the desired Output from this best photo editing software whether you want to export images for facebook, Lightroom, or for your websites.